
为MediaWiki安装来自 维基媒体基金会 的 RESTBase 和顺便显示下数学公式…… 😂.
按常规先来解释下这些东西是啥 😂
RESTBase is a caching / storing API proxy backing the Wikimedia REST API. Its configuration is based on Swagger specs, and its primary storage backend is using Cassandra. It powers "rest_v1", the Wikimedia REST content API used by VisualEditor to retrieve page HTML for editing.
嘛,大概就是给 MediaWiki 提供一层 RESTful API 方便各种应用访问(例如 VisualEditor 和 Mathoid ……)
然后偷张 WMF 自己画的结构图:
具体的效果大家可以先去 MediaWiki.org 瞅一眼…… 😂
而 Mathoid 嘛:
Mathoid is an application which takes various forms of math input and converts it to MathML + SVG or PNG output.
本来 MediaWiki 是支持 latex 显示数学公式的,不过咱这里一直没出来 😂 然后就用这个了……
(立 flag)啥时候把这些东西搞进 AUR 啊……
安装 Mathoid
https://www.mediawiki.org/wiki/Mathoid <- 官方的文档……
首先先装上 nodejs 和 npm (装过 VisualEditor 的应该就有了啦)
还有 Mathoid 的依赖,在 Arch 上大概是这些:
# pacman -S librsvg pkg-config
然后从 AUR 装 nodejs-mocha AUR
然后新建个文件夹 喜闻乐见 npm install ......
npm install mathoid
cd node_modules/mathoid
npm test
node server.js
没问题的话 Mathoid 就应该跑在 http://localhost:10044 上了,算了抄个 systemd 系统单元好了……
[Unit]
Description=Mediawiki Mathoid Service
Documentation=https://www.mediawiki.org/wiki/Mathoid
Wants=local-fs.target network.target
After=local-fs.target network.target

[Install]
WantedBy=multi-user.target

[Service]
Type=simple
User=nobody
Group=nobody
WorkingDirectory=/path/to/mathoid
ExecStart=/usr/bin/node /path/to/mathoid/server.js
KillMode=process
Restart=on-success
PrivateTmp=true
StandardOutput=syslog
安装 RESTBase
https://www.mediawiki.org/wiki/Content_translation/cxserver/Setup#RESTBase_Server <- 官方的文档……
然后找个地方 clone 一下 RESTBase 的版本库,然后 喜闻乐见 npm install ...... ,
再把样例配置文件复制一份出来备用:
git clone https://github.com/wikimedia/restbase.git
cd restbase
npm install
cp config.example.yaml config.yaml
接着改些字段,注意 yml 和 Python 一样要求一致的缩进 😂
# 跳过前面的一大把注释……

services:
- name: restbase
    module: hyperswitch
    conf:
    port: 7231
    salt: secret
    default_page_size: 125
    user_agent: RESTBase
    ui_name: RESTBase
    ui_url: https://www.mediawiki.org/wiki/RESTBase
    ui_title: RESTBase docs
    spec:
        x-request-filters:
        - path: lib/security_response_header_filter.js
        x-sub-request-filters:
        - type: default
            name: http
            options:
            allow:
            # 设置允许哪些来源访问。
            # 至少要把汝 wiki 的 API 和 Parsoid 的位置写进去。
            # 一会儿还要把 Mathoid 的位置写进去
            - pattern: http://localhost/w/api.php
                forward_headers: true
            - pattern: http://localhost:10044
                forward_headers: true
            - pattern: http://localhost:8000
                forward_headers: true
            # 这行是默认的,大概是允许所有 HTTPS 连接?
            - pattern: /^https?:\/\//
        paths:
        # 汝 wiki 的域名,像设置 Parsoid 时一样。
        /{domain:wiki.yoitsu.moe}:
            x-modules:
            - path: projects/example.yaml
                options:
                action:
                    # 汝 wiki api.php 的位置
                    apiUriTemplate: https://wiki.yoitsu.moe/w/api.php
                    # RESTBase URI,默认像这个样子……
                    baseUriTemplate: "{{'http://{domain}:7231/{domain}/v1'}}"
                    # 咱搞的像这个样子(暂时的)
                    baseUriTemplate: "{{'http://localhost:7231/{domain}/v1'}}"
                parsoid:
                    # 汝的 Parsoid 的位置
                    host: http://localhost:8000
                # 只有需要 Mathoid 时需要这一段,把汝的 Mathoid 的位置写进去。
                mathoid:
                    host: http://localhost:10044
                table:
                    backend: sqlite
                    dbname: db.sqlite3
                    pool_idle_timeout: 20000
                    retry_delay: 250
                    retry_limit: 10
                    show_sql: false

        # 要搞 Mathoid 的贴上这一段。
        # 咱不知道为啥能用 ……
        /{domain:wikimedia.org}:
        x-modules:
          - path: projects/wikimedia.org.yaml
            options:
              action:
                # 汝 wiki api.php 的位置
                apiUriTemplate: https://wiki.yoitsu.moe/w/api.php
                # RESTBase URI,默认像这个样子……
                baseUriTemplate: "{{'http://{domain}:7231/{domain}/v1'}}"
                # 咱搞的像这个样子(暂时的)
                baseUriTemplate: "{{'http://localhost:7231/{domain}/v1'}}"
              parsoid:
                # 汝的 Parsoid 的位置
                host: http://localhost:8000
              mathoid:
                # 汝的 Mathoid 的位置
                host: http://localhost:10044
              table:
                backend: sqlite
                dbname: db.sqlite3
                pool_idle_timeout: 20000
                retry_delay: 250
                retry_limit: 10
                show_sql: false


# Finally, a standard service-runner config.
info:
name: restbase

logging:
name: restbase
level: info
保存然后 npm start 🌕
如果汝不是通过远程访问执行的命令,可以在浏览器上打开
http://localhost:7231
来进行测试.试着加载
http://localhost:7231/汝设置的域名/v1/
试试呗~
或者祭出 curl :
curl http://localhost:7231/汝设置的域名/v1/page/html/汝wiki上的一个页面
成功的话会看到汝那个页面的 HTML 代码。
再抄个 systemd 系统单元好了……
[Unit]
Description=Mediawiki RESTBase Service
Documentation=https://www.mediawiki.org/wiki/RESTBase
Wants=local-fs.target network.target
After=local-fs.target network.target

[Install]
WantedBy=multi-user.target

[Service]
Type=simple
User=nobody
Group=nobody
WorkingDirectory=/path/to/restbase
ExecStart=/usr/bin/node /path/to/restbase/server.js
KillMode=process
Restart=on-success
PrivateTmp=true
StandardOutput=syslog
然后启动这两个服务。
设置 LocalSettings.php
# $wgVisualEditorRestbaseURL 大概像 http://汝RESTBase服务的位置/汝wiki的域名/v1/page/html/
$wgVisualEditorRestbaseURL = "http://localhost:7321/wiki.yoitsu.moe/v1/page/html/";
# $wgVisualEditorFullRestbaseURL 大概像 http://汝RESTBase服务的位置/汝wiki的域名/
$wgVisualEditorFullRestbaseURL = "http://localhost:7321/wiki.yoitsu.moe/";
# 首先加载 Math 扩展
require_once "$IP/extensions/Math/Math.php";
# 设置渲染方式为源代码和 MathML
$wgMathValidModes = array( 'source' ,'mathml');
# 设置默认使用 MathML
$wgDefaultUserOptions['math'] = 'mathml';
# 汝的 Mathoid 服务的地址
$wgMathMathMLUrl = 'http://localhost:10044/';
# 如果汝用了咱上面那种糊法,$wgMathFullRestbaseURL 这么写 🤦♀️
$wgMathFullRestbaseURL= 'http://localhost:7231/wikimedia.org/';
如果需要的话运行下维护脚本。
最后的效果大概像这样:
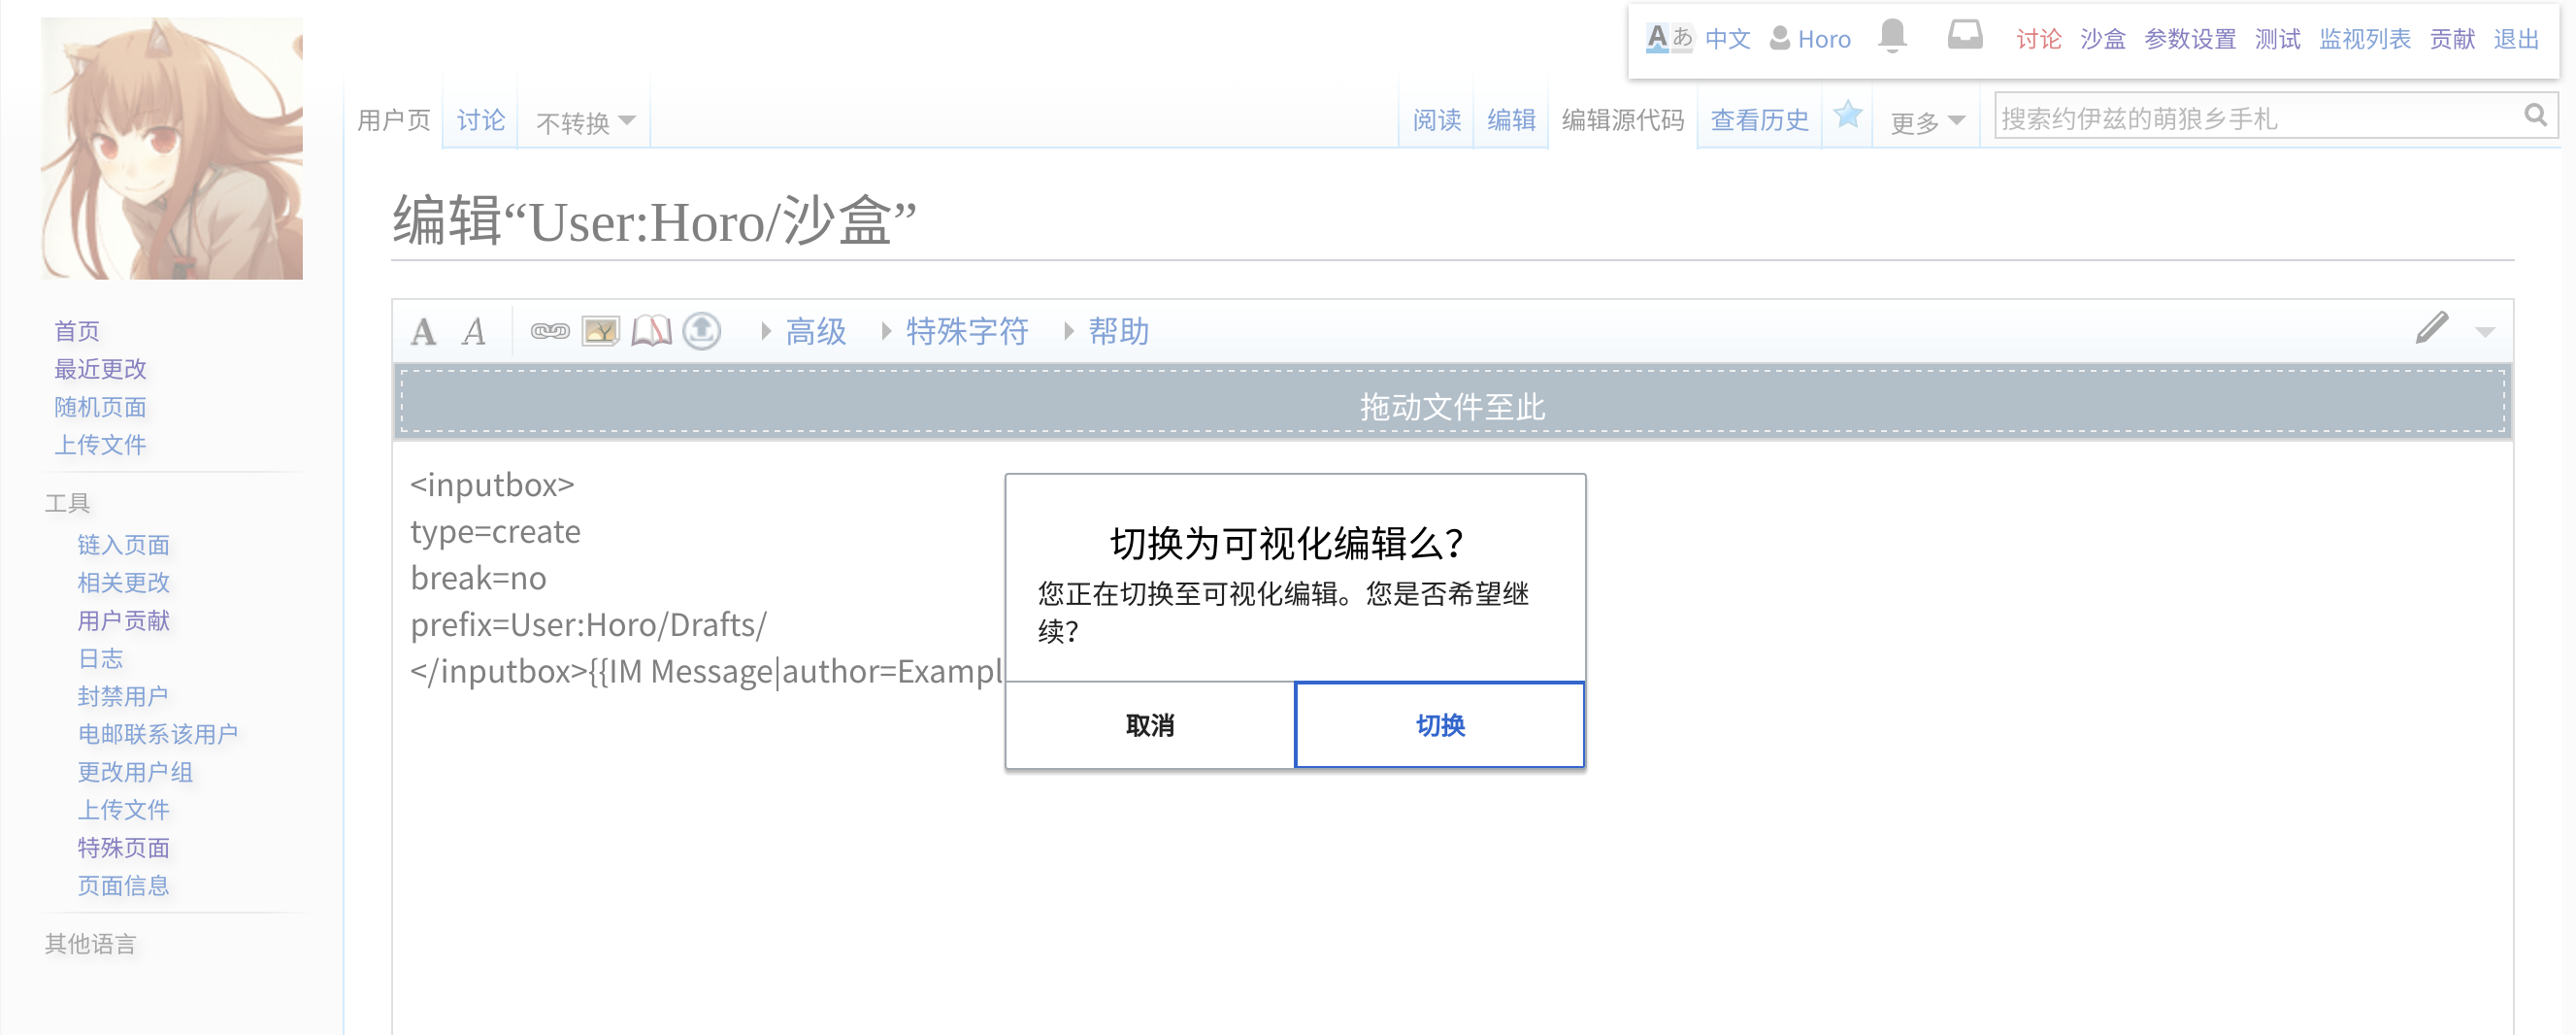
两个编辑器之间的切换更顺畅了 😂
2017 维基文本编辑器 : 😌
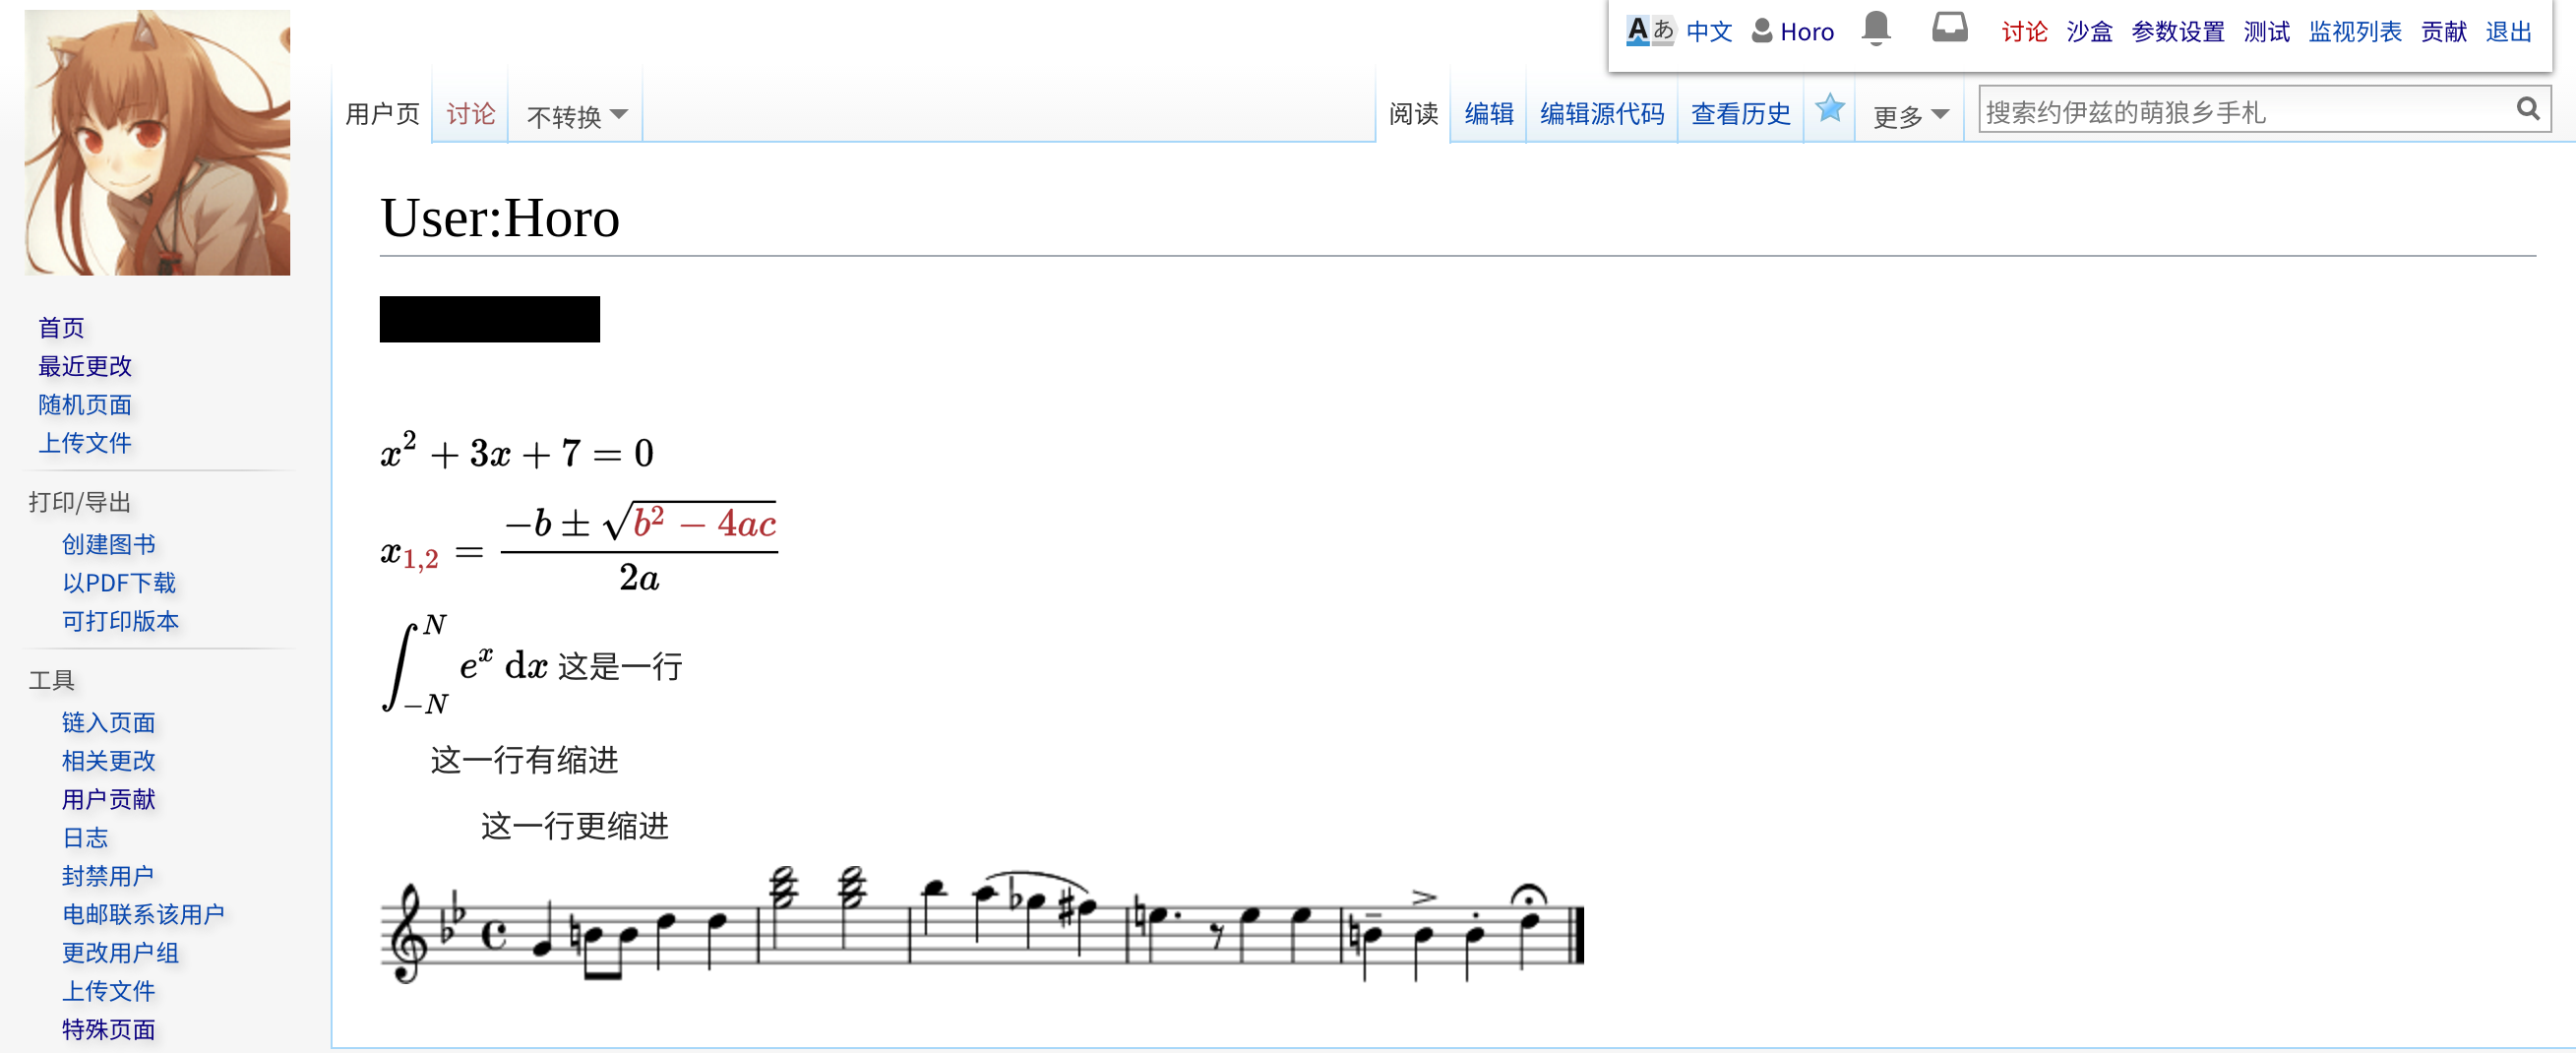
公式出来了 😂
下面的乐谱靠的是 https://www.mediawiki.org/wiki/Extension:Score 啦 😂
🤦 不过介于 RESTBase 本身还在开发,所以小心翻车……